Key Takeaways
- Understanding Anodizing and Its Removal: Anodizing enhances metal properties such as corrosion resistance and aesthetics, and it is commonly used in the aerospace and automotive industries. However, removal might be necessary for repairs, refinishing, or specific performance needs.
- Detailed Removal Methods and Safety Precautions: The guide provides comprehensive steps for chemical and electrochemical anodizing removal. It emphasizes the importance of safety precautions, including proper ventilation, PPE usage, and adherence to Safety Data Sheets (SDS).
- Post-Removal Care and Alternative Solutions: After removing anodizing, proper neutralization, rinsing, and drying are crucial to prevent corrosion. Depending on the desired outcome, the guide also suggests alternatives like sanding, polishing, or refinishing.
Anodizing is a widely employed surface treatment process utilized across various industries, including aerospace, defense, and automotive. It offers the benefits of enhanced aesthetics and improved corrosion resistance for metal components.
However, situations may arise where anodizing removal becomes necessary. This could be for repair purposes, to facilitate refinishing or for other specific requirements.
This guide provides a comprehensive, step-by-step approach to removing anodizing from metal surfaces. It outlines the various methods available and the associated procedures, allowing for informed decision-making when tackling such tasks.
What is Anodizing and Why Remove It?
Anodizing is an electrochemical process that modifies a metal’s surface by creating a controlled oxide layer. This layer typically consists of aluminum oxide in the case of aluminum substrates. The primary function of anodizing is to enhance the properties of the underlying metal. These enhancements can include:
- Improved Corrosion Resistance: The oxide layer acts as a barrier, hindering the interaction between the metal and corrosive environments.
- Enhanced Wear Resistance: A harder oxide layer can provide some protection against scratching and abrasion.
- Aesthetic Appeal: Anodizing allows for creating various colors and finishes on the metal surface.
However, there are situations where removing the anodized layer becomes necessary. Here are some reasons why anodizing removal might be required:
- Repair or Modification: If a part with anodizing needs repair or modification, the anodizing layer may need to be removed to access the underlying metal.
- Refinishing: If a part requires a different surface finish, such as painting or welding, the anodizing may need to be removed for proper adhesion.
- Performance Considerations: In some applications, the properties of the bare metal substrate might be more desirable than those of the anodized layer.
The decision to remove anodizing should be based on the application’s specific requirements and the final product’s desired properties.
Step-by-Step Guide: How to Remove Anodizing Safely
Important Note: Successful and safe anodizing removal hinges on several factors, including the type of anodizing, the size and complexity of the object, and the chosen removal method. It’s crucial to meticulously assess these aspects before proceeding.
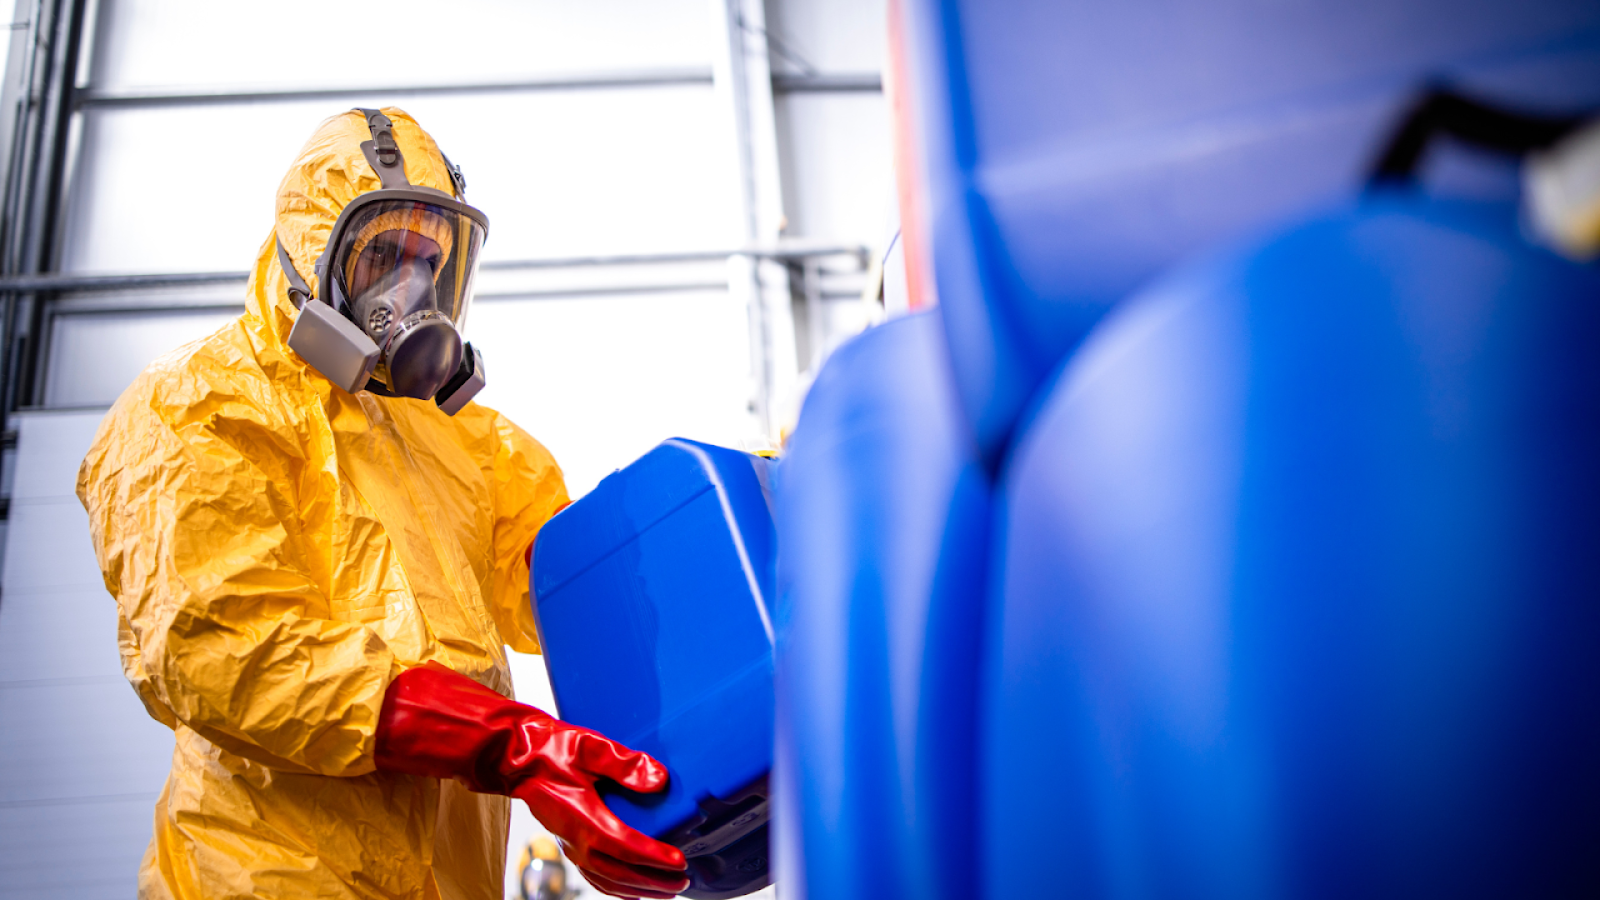
Safety Precautions
Anodizing removal processes can involve hazardous chemicals or electrical equipment. Always prioritize safety by:
- Consulting Safety Data Sheets (SDS): Thoroughly review the SDS for any chemicals used, strictly adhering to the outlined handling protocols and recommended Personal Protective Equipment (PPE).
- Proper Ventilation: Always ensure adequate ventilation in the workspace to avoid inhaling harmful fumes.
- Eye Protection: Wear appropriate eye protection (safety goggles) throughout the process.
- Skin Protection: Wear chemical-resistant gloves to safeguard your hands from potential contact with hazardous materials.
Preparation
- Gather Materials: Assemble the necessary tools and materials based on the chosen removal method (chemical or electrochemical).
- Clean and Degrease: Meticulously clean and degrease the anodized surface using a suitable solvent. This ensures optimal contact with the removal agent.
Removal Process
- Chemical Removal: This approach involves submerging the object in a chemical solution to dissolve the anodized layer. The duration of the submersion depends on the anodizing thickness and the chosen chemical’s potency.
- Electrochemical Removal: This method utilizes an electrically charged solution to facilitate the removal of the anodized layer.
Neutralization and Disposal
- Following the removal process, meticulously neutralize any residual chemical solution using a neutralizing agent (e.g., vinegar for some solutions) according to recommended safety protocols. Dispose of the neutralized waste responsibly, adhering to local regulations.
Rinsing and Drying
- Thoroughly rinse the object with clean water to eliminate any remaining chemicals or solution residues. Allow the object to dry completely before proceeding with further treatment or use.
Post-Removal Considerations
- Bare Metal Properties: The exposed metal surface is more susceptible to corrosion than its anodized state. If necessary, consider applying a protective coating or finish.
- Alternative Approaches: Depending on the specific situation, alternative methods like sanding or polishing the anodized surface might achieve the desired outcome without complete removal.
Crucial Disclaimer: This guide provides a general overview. It is highly recommended to consult specific technical resources or seek professional guidance when dealing with anodizing removal, particularly for complex applications or unfamiliar materials.
Materials and Tools You’ll Need to Remove Anodizing
The specific materials and tools required for anodizing removal depend on the chosen method: chemical or electrochemical. Here’s a breakdown for each:
Chemical Removal
- Safety Gear:
- Safety goggles
- Chemical-resistant gloves
- Appropriate respirator (if using particularly volatile chemicals)
- Cleaning and Degreasing:
- Suitable solvent (e.g., degreaser, acetone)
- Cleaning cloths or wipes
- Removal Process:
- Container for chemical solution (glass or plastic recommended, not metal)
- Chemical solution specific to anodizing removal (e.g., sodium hydroxide solution, baking soda paste)
- Stirring rod (optional)
- Neutralization and Disposal:
- Neutralizing agent (e.g., vinegar for some solutions)
- Waste disposal container
Electrochemical Removal
- Due to the complexity and inherent safety risks associated with electrical equipment, it’s highly recommended to consult a professional for this method.
However, for informational purposes, here’s a general list of potential equipment involved:
- A power source (DC)
- Container for electrolyte solution
- Conductive cathode (often made of stainless steel)
- Electrical wires and connectors
- Electrolyte solution (specific formulation required)
General Considerations:
- Regardless of the method, ensure adequate ventilation in your workspace.
- Always consult Safety Data Sheets (SDS) for any chemicals used and strictly adhere to recommended handling procedures.
Troubleshooting: Common Issues When Removing Anodizing
Effective anodizing removal requires meticulous planning and execution. However, even with careful preparation, unforeseen issues can arise. This section addresses some common challenges and suggests solutions for successful outcomes.
Incomplete Anodizing Removal
- Potential Cause: Insufficient immersion time may not have allowed for complete dissolution of the anodized layer, particularly for thicker layers or weaker chemical solutions.
- Recommended Action: Extend the immersion time based on the anodizing thickness and the manufacturer’s recommendations for the chosen chemical solution. Alternatively, consider using a stronger chemical solution, ensuring compatibility with the underlying metal substrate.
Uneven Removal of Anodizing
- Potential Cause: Inconsistent contact between the object and the chemical solution, or a lack of proper agitation during submersion, can lead to uneven removal.
- Recommended Action: Verify that the object is fully submerged in the solution throughout the process. Implement gentle, periodic agitation of the solution or the object to promote even exposure to the chemical agent.
Surface Roughness of the Substrate
- Potential Cause: An overly aggressive chemical solution or excessively long immersion time can lead to a roughened metal surface after anodizing removal.
- Recommended Action: Utilize a less aggressive chemical solution or shorten the immersion time to minimize surface etching. In severe cases, polishing the surface might be necessary to achieve a smoother finish. Selecting a polishing technique appropriate for the specific metal substrate is crucial.
Inconsistent Color on the Exposed Metal
- Potential Cause: Uneven coloration can result from variations in the natural color of the underlying metal or slight inconsistencies during the removal process.
- Recommended Action: In some instances, polishing the bare metal can help achieve a more uniform appearance. However, if consistent color is critical, alternative refinishing methods might be necessary, such as re-anodizing in a uniform color.
Important Note: These troubleshooting pointers provide a general framework. It remains paramount to consult the specific technical information associated with the type of anodizing you’re removing and the chosen removal method.
Refer to Safety Data Sheets (SDS) for proper handling procedures of any chemicals used. If you encounter persistent issues beyond your expertise, consider seeking professional guidance from a qualified metal finishing company to ensure optimal results and avoid damaging the underlying metal.
Valence Surface Technologies has extensive experience and expertise in anodizing removal across various metals. Our team utilizes advanced techniques and equipment to ensure a pristine outcome. Contact our team today. Let us discuss your anodizing removal needs and explore how our solutions can streamline your process and deliver exceptional results.
Exploring Alternatives: Options Beyond Anodizing Removal
In specific scenarios, complete removal of the anodized layer might not be the most suitable solution. Here, we explore some alternative approaches that can address various needs:
Sanding or Polishing
For situations where a slight aesthetic change or surface texture modification is desired, sanding or polishing the anodized surface can be a viable option. This approach can achieve a different visual appearance without removing the anodizing layer entirely.
Refinishing with Paint or Powder Coating
If the primary objective is to alter the color or enhance the overall appearance of the anodized component, refinishing with paint or powder coating can be a practical alternative. These methods provide a vast array of color options and can potentially improve surface durability.
However, successful application hinges on proper surface preparation, including adequate cleaning and adhesion promotion techniques.
Re-anodizing in a Different Color
When the existing anodizing color is undesirable, re-anodizing the surface in a different color offers a solution. This approach entails removing a very thin layer of the existing anodizing (potentially achievable through light chemical or mechanical means) and performing a new process to achieve the desired color.
However, re-anodizing typically requires specialized equipment and expertise for optimal results.
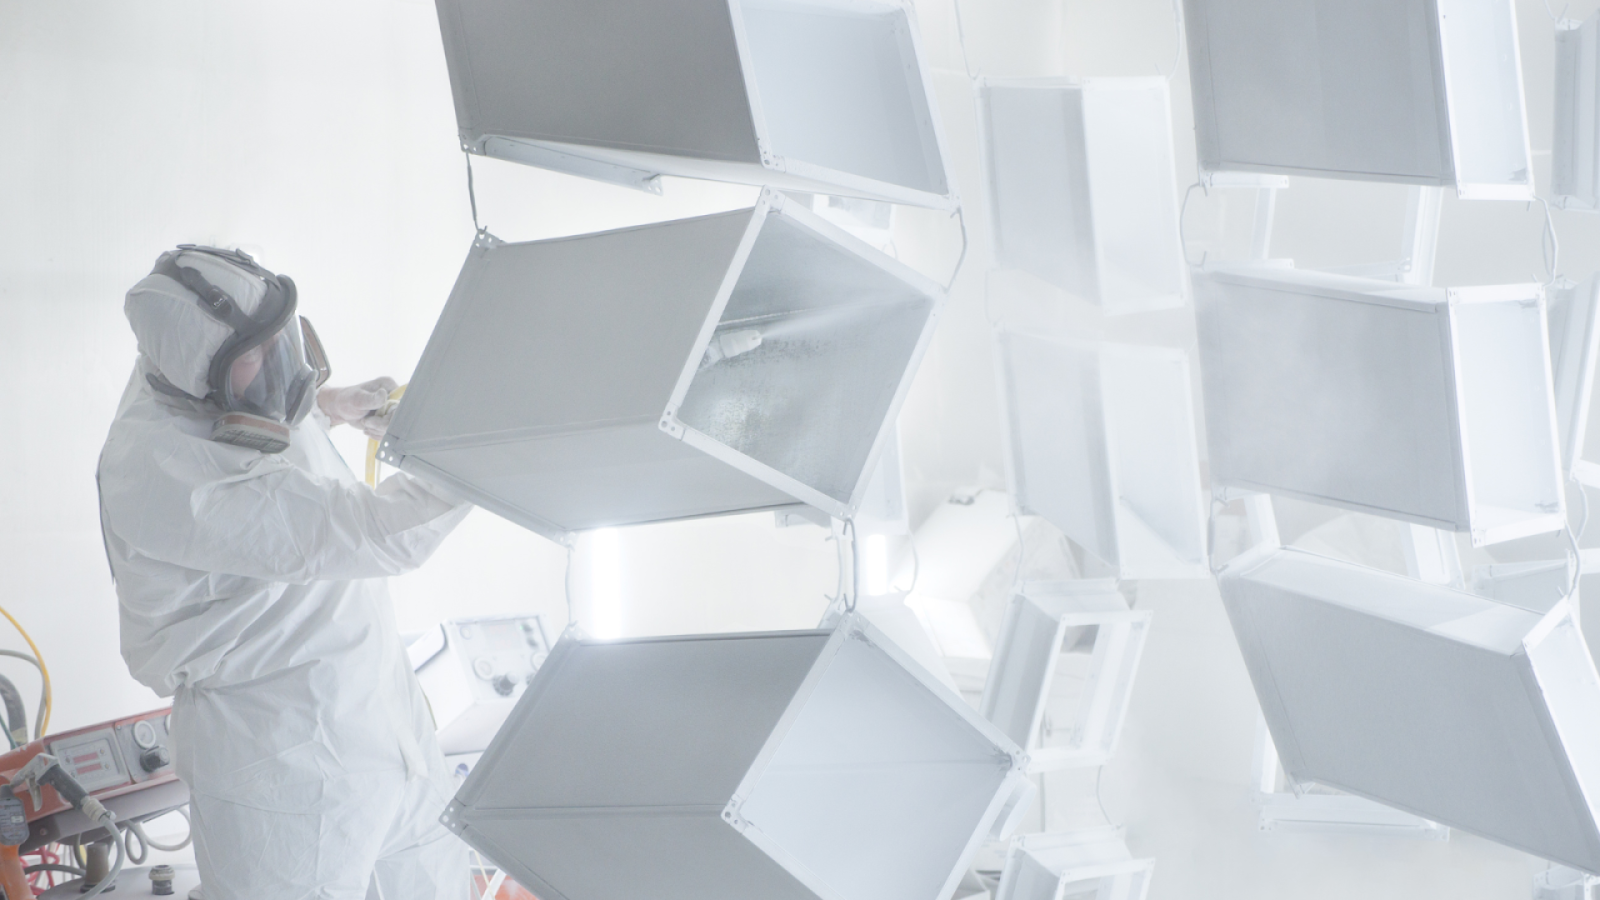
Choosing the Right Method: Chemical vs. Electrochemical Removal
When faced with anodizing removal, selecting the most suitable method hinges on several critical factors. Here’s a brief difference of the two primary methods – chemical and electrochemical – to aid your decision-making process:
Chemical Removal: Simpler but Less Precise
Chemical removal involves submerging the object in a solution designed to dissolve the anodized layer. This method is generally considered easier to implement for DIY projects as it often uses readily available tools and materials. Additionally, it can be a more cost-effective option for small-scale tasks.
However, there are downsides. Chemical solutions can be hazardous, requiring strict safety protocols and ventilation. Chemical removal also offers less control over the process, potentially leading to unevenness or a roughened surface. Compatibility with the underlying metal is also crucial, as certain chemicals might cause damage.
Electrochemical Removal: Faster and More Precise, But Requires Expertise
Electrochemical removal utilizes an electrically charged solution and a cathode to remove the anodized layer. The electrical current specifically targets the oxide layer, making it a faster process, especially for thicker anodizing. This method also offers greater control over the removal depth and surface finish.
However, electrochemical removal requires specialized equipment and an understanding of electrical safety principles. This makes it a less suitable option for DIY applications and can be more expensive due to the equipment and expertise needed. Improper handling of electrical equipment during this process poses significant safety risks, so consulting a professional is highly recommended.
Final Thoughts
When done correctly, removing anodizing from metal surfaces can be straightforward. Following this detailed guide, you can safely and effectively strip anodized layers to prepare your metal for further treatment or refinishing. Always prioritize safety by using protective gear and working in a well-ventilated area.
While this guide has equipped you with valuable knowledge about anodizing removal methods, the process can be intricate. Choosing the right approach, ensuring safety, and achieving a flawless finish requires expertise.
At Valence Surface Technologies, we possess extensive experience and advanced equipment for anodizing removal across various metals. As the world’s largest independent aerospace product finishing company, Valence offers a completely integrated solution that ensures quality and reliability.
Contact us for a consultation and quote. Our team is here to discuss your specific requirements and explore customized solutions that streamline your process and deliver the exceptional results you deserve.
Read also:
- What Are Mil-Spec Anodizing Classes?
- Choosing The Right Finish: Anodizing Vs. Powder Coating
- Explaining the Differences Between Hardcoat and Other Anodizing Methods
Frequently Asked Questions
Is it safe to remove anodizing at home?
Yes, it is safe to remove anodizing at home, provided you follow the recommended safety protocols. Use protective gear such as gloves and safety glasses, and work in a well-ventilated area to avoid inhaling fumes.
How long does it take to remove anodizing?
The time it takes to remove anodizing can vary depending on the method used and the thickness of the anodized layer. Typically, chemical removal methods can take a few minutes to an hour.
Will removing anodizing damage the metal underneath?
If done correctly, removing anodizing should not damage the underlying metal. However, mechanical methods that are too abrasive can potentially scratch or mar the surface.
Can I remove anodizing from any metal surface?
Anodizing is a finish that is mostly specific to aluminum and its alloys. Therefore, the methods described for removing anodizing are suitable for these materials and may not be appropriate for other metal surfaces.
How do I know if the anodizing has been completely removed?
Once the anodizing has been fully removed, the metal will return to its original, bare appearance. You can verify this by checking for uniformity in color and texture across the surface.
What should I do if some areas of anodizing are stubborn and won’t come off?
If certain areas resist removal, reapply the chemical remover or gently increase the abrasive action. Be cautious not to damage the metal by being too aggressive.
Can I re-anodize the metal after removing the existing anodizing?
Yes, you can re-anodize the metal after the existing anodizing layer has been removed. Ensure the metal is thoroughly cleaned and prepped before undergoing the re-anodizing process.
Will removing anodizing affect the corrosion resistance of the metal?
Yes, removing the anodizing will remove the protective oxide layer and can affect the metal’s corrosion resistance. If corrosion resistance is a concern, applying a protective finish or re-anodizing the metal is recommended.
Can I remove anodizing from small parts or only larger surfaces?
Anodizing can be removed from both small parts and larger surfaces. The removal method may need to be adjusted based on the item’s size to ensure thorough and even removal.
How do I dispose of the chemicals used in the anodizing removal process?
Proper chemical disposal is crucial. Follow your local guidelines for disposing of hazardous chemicals. Some areas may require you to take your chemicals to a special waste disposal facility.